How to make quick and easy fabric gift bags
Several years ago, I decided that it was time for me to stop using wrapping paper for my Christmas gifts. We usually celebrate as a family at my parents' place, and wrapping paper isn't recyclable in their municipality - in fact it's not recyclable in many places, and it's not a good idea to burn it in the wood stove either, due to its high ink content. We would often end up with several bags full of paper by the time we were done our unwrapping, and most of it would eventually wind up at the local dump.
I thought about a few different options for substitutes, but I really wanted to find a way to change this habit without sacrificing the excitement of waking up to a pile of colourful parcels under the tree on Christmas morning.
So, when I realized that the local fabric store always carries Christmas prints at this time of year, I decided that fabric bags would be the way to go. I've been making bags for all my presents since then, and every year I leave them with my parents after the holidays, to be re-used by the whole family for the following year's gifts. We've now accumulated enough of them that I don't expect there will be any paper-wrapped gifts at all under our tree this year.
This is my quick-and-easy method for making draw-string gift bags. Since they're only used once a year I don't bother to finish the seams perfectly or measure everything precisely - I usually need to save as much crafting time as possible for gift knitting!
1. Gather all the supplies you'll need
You'll need:
- fabric
- 1/4" wide ribbon
- sewing thread
- pins
- scissors
- seam ripper
- small safety pin
- measuring tape
- ruler
- pencil or chalk for marking fabric
- iron

2. Measure your gifts

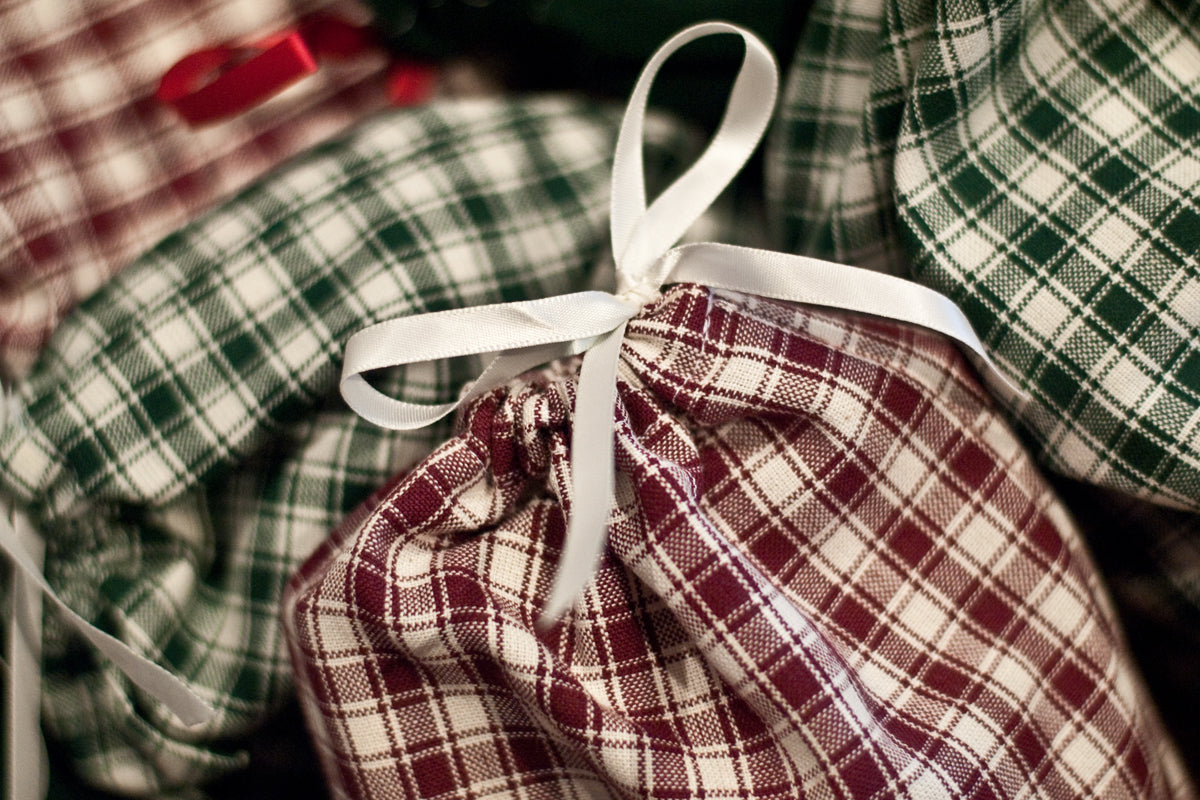
To calculate the sizing of your gift bag, you'll need to measure all the way around your gift in both directions. I've used this book (destined to be given to my boyfriend's cousin) as an example. It measured 10" around the short side, and 16" around the long side.
3. Cut your fabric

Next you'll need to calculate how big your piece of fabric needs to be for the bag. For this type of drawstring bag it's better to make the opening along the shortest side, so we'll calculate the fabric dimension as follows:
Take the shorter of the two dimensions you measured (in my case 10") and add 3 to 4". This is the width of the fabric you'll cut for your bag (13" for my book bag).
Then take the longer dimension (in my case 16"), divide it by 2, and then add 3 to 4". This is the height of the fabric you'll need for your bag (11" for my book bag).
4. Sew the side and bottom seams

Fold your fabric in half width-wise, and pin it along one side and the bottom.

Sew along these two edges leaving approximately a 1/2" seam allowance. Remember that these seams don't need to be perfect!
5. Make casing for ribbon
Open out the top of the side seam, and iron flat the first 2-3". You can iron open all your seams if you like, but it's not really necessary.

Fold down approximately 1/2" of fabric around the top of the bag and iron it flat.

Then fold the top over one more time, hiding the cut edge and creating the casing for your ribbon, and iron it again.

Pin the casing in place and sew all the way around, about 1/8" from the inside folded edge. I like to start and finish at the side seam, and reverse over it once or twice to make sure it's well secured.

6. Insert ribbon

Using a seam ripper or small sharp scissors, cut open the stitching at the side seam above the casing seam.

Cut a length of ribbon about 4 to 6" longer than the circumference of your bag. Pin your safety pin to one end, and use the pin to help feed the ribbon through the casing. Turn the bag right-side out.

7. Wrap your gift!
You should now have a drawstring bag just the right size for your gift. Insert the gift, pull the ends of the ribbon tight, and tie them in a bow. I like to make gift tags with a little square of cardstock. I punch a hole in one corner using a hole punch, and thread it onto one end of the ribbon before tying my bow.


Things to keep in mind:
- These bags will most likely only be used once a year, and no one will be critiquing your sewing. Don't worry too much about being precise or exact.
- Drawstring bags work best for relatively small and flat gifts. If your gift is large or oddly shaped you may need to add extra fabric to accommodate it.
- The amount of fabric and ribbon you need will of course depend on how many presents you're wrapping and how big they are! I usually end up using 1-2 metres a year for all my gifts.
- You might not be able to transition to all fabric wrapping all at once, depending on the size of your family. Try making a few each year, and eventually you'll have enough of a collection that you'll only need fresh ones for those pesky large or oddly shaped ones!

1 Réponse

Suzanne Kavanaugh
Thank you. You have made the world a better place because of what you are doing. I would like to learn to knit but I cannot seem to follow a pattern and my fingers can’t work with the needles. I realize how dumb that may sound. I am a quilter but I can do many other things. That you for the instructions on how to make a gift bag from cloth. The instructions are easy to follows and I will never buy paper wrap again. Cheers, Suzanne in St. Catharines, Ontario
Laisser un commentaire
Voir l'article entier

Three books about sheep and fibre
Are you looking to deepen your knowledge of fleeces and fibres? Below, we introduce three books we carry that contain a wealth of information about different fibre-producing animals and sheep breeds, and the best ways to use their fleeces. We hope this selection will support you as you explore different ways to work with a wide array of animal fibres.

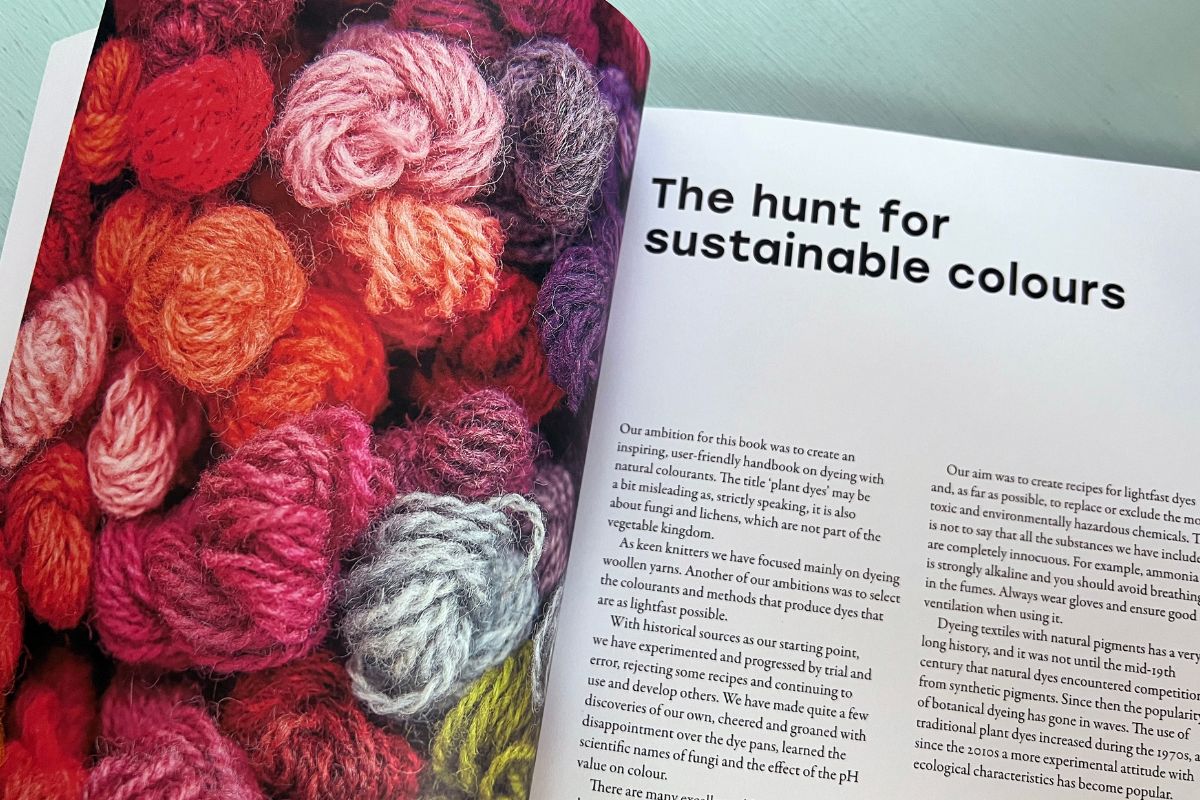
Choosing a Natural Dye Book
Have you ever tried dyeing your own yarn using natural colorants? Are you now looking for more inspiration? Or maybe you’ve always been curious, and are wondering where to begin. Below, we’ve introduced four books that could be exactly what you’re looking for!
Abonnez-vous
Sign up to get the latest on sales, upcoming events, new yarn, patterns and more...
+À propos du Sweet Paprika
Sweet Paprika Designs propose des matériaux de haute qualité pour les tricoteurs et crocheteurs, en mettant l’accent sur des produits locaux et durables. Les copropriétaires (et soeurs) Debbie et Elizabeth créent leurs propres laines teintes à la main, ensemble prêt-à-tricoter et patrons dans leur atelier de teinture à Montréal et organisent des événements de tricot et de teinture dans la communauté.
Debbie Sullivan
Auteur