Recipes: Handmade Chocolates
In preparation for the upcoming holidays, Debbie and I had a chocolate making party on Saturday. It was a fun day and a bit of a trip down memory lane for us.
What most of you probably don't know is that Sweet Paprika is not our first business partnership as sisters. When we were teenagers we accidentally started a handmade vegan chocolate making business. I say accidentally because it all started as a fund-raising venture for a Girl Guide/Canada World Youth trip to Costa Rica that Debbie was participating in. But even after we were done fundraising we still had people wanting to buy our chocolates!

So we kept making and selling chocolates for almost a year before realizing that if we wanted to continue we would really need to invest in a chocolate tempering machine (to keep the chocolate at the right temperature while we worked). At 16 and 18 we decided we didn't want to invest that much money or have the responsibility of a business quite yet so we wound up production in December 2002.
Chocolates are fun to make and nice gifts to give so I really wanted to make some this year, especially as my son is now old enough to "help". He really enjoyed coming with me to pick out the molds, helping to put the truffles in the foil cups, and of course tasting the finished chocolates!
Now, the part you're waiting for. As requested, here are a couple of our chocolate recipes. My apologies, I did write down all the ingredients for our recipes back in 2002, but I was a bit sparing in the details! See below for more info on molds and tempering chocolate.
Raspberry Truffles
Ingredients
- 4 oz (1/2 cup) cream
- 1.5 oz (3 Tbsp) butter
- 2 oz (1/4 cup) seedless raspberry jam
- 10 oz dark chocolate, cut into very small pieces
- 1-1.5 oz brandy or creme de frambroise
- cocoa powder for rolling
- more cocoa powder, icing sugar or tempered chocolate for finishing
Directions:
- Put cream, butter and raspberry jam in a saucepan and bring to boiling point. Remove from stove. Stir in chocolate and brandy. Keep stirring until chocolate is completely melted.
- Pour the mixture onto a cool flat surface (I've used either a marble slab or a cookie sheet) and with a spatula work the chocolate back and forth until it thickens and stiffens a bit. You can skip this step if you're in a rush, but it does help to make the truffles very smooth.
- Refrigerate the mixture for a bit (20min?). When you're ready to roll the truffles, dust your hands with cocoa powder, take a bit of the truffle mixture and roll it into a ball. If the mixture is too soft and melts on your hands, return it to the fridge for a bit.
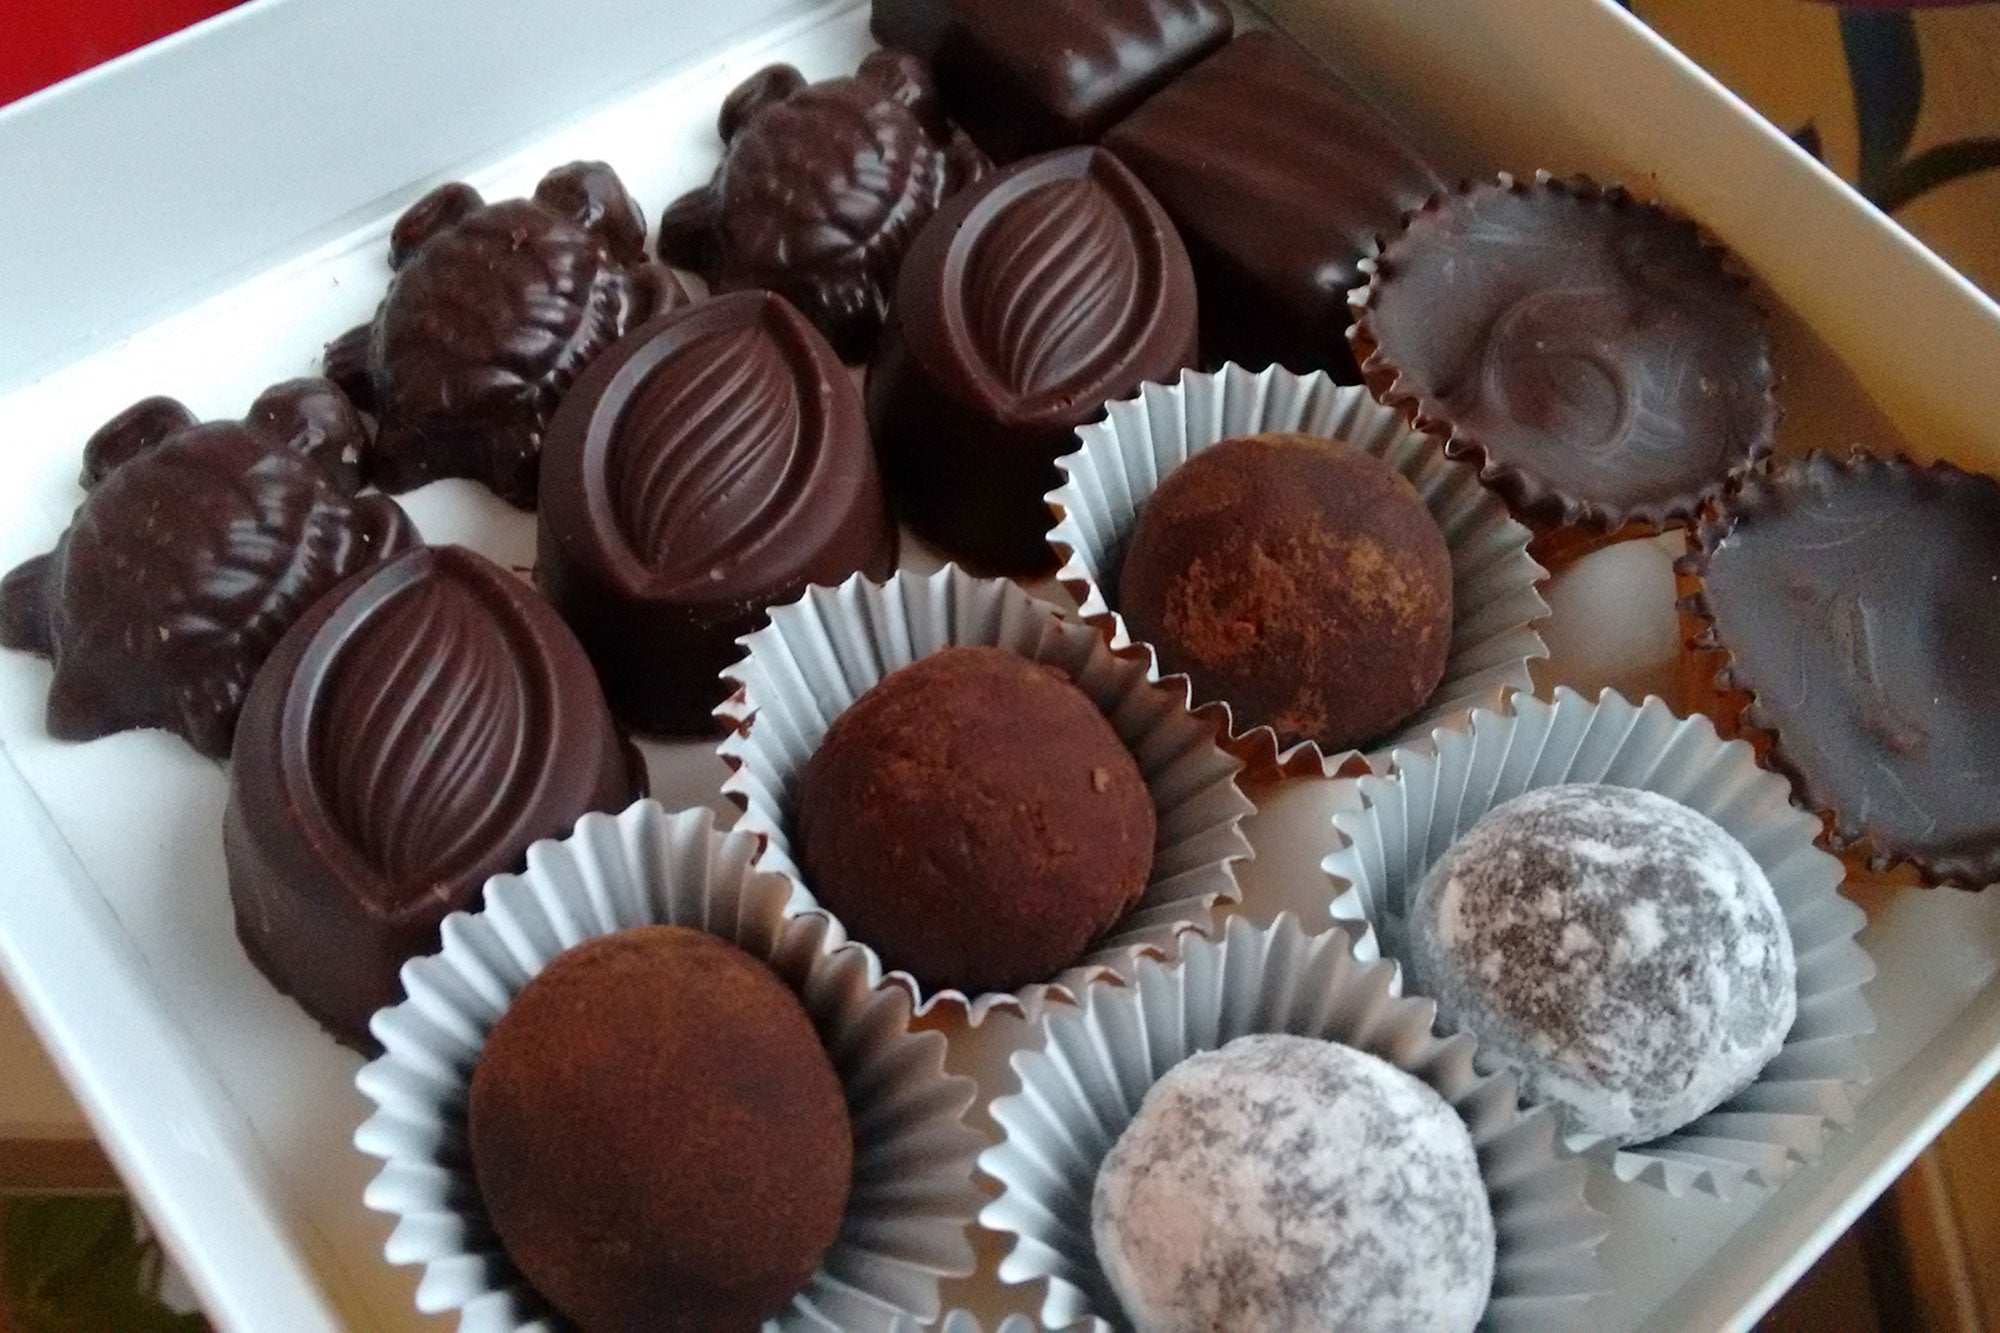
- To finish the truffles, you can either roll them in cocoa powder or icing sugar as shown above, or you can dip them in tempered chocolate.
Makes approximately 50 truffles.
Orange-Hazelnut Filled Chocolates
Ingredients
- 1 medium orange
- 8 oz (1 cup) cream
- 8 oz (1 cup) butter
- 6 oz (1/2 cup) light corn syrup
- 4 oz (1/2 cup) sugar
- 1 lb dark chocolate, cut into very small pieces
- 6 oz (1 1/4 cups) whole hazelnuts, toasted, skinned and finely crushed
- tempered chocolate
- chocolate mold
Directions:
- Grate peel of the orange and set aside. In a food processor or blender finely grind the pulp of the orange and set aside.
- Put cream, butter, corn syrup and sugar in a saucepan and bring to boiling point. Remove from stove. Add chocolate and stir until smooth.
- Stir in hazelnuts, orange rind and orange pulp. If you're not using the filling straight away keep it in the fridge, but it's better to be at room temperature when filling the molds.
- Paint inside of mold with chocolate and put in fridge for 10-15 min to harden.
- Fill with hazelnut filling, leaving a little space at the top.
- Top with chocolate to seal in the filling and put in fridge for 10-15 minutes to harden.
- Un-mold chocolates. They should come out easily. If not, try putting them back in the fridge for a few more minutes.
Makes A TON. I suggest halving or quartering the recipe if you're planning to make more than one type of filled chocolates.
Peanut Butter Cups
This one was a new one for us this year. I more or less followed this recipe, painting the cups rather than layering them. Next time I think I would cut the butter down slightly and add a little extra peanut butter, but they are tasty!
Ingredients
- 1/2 cup peanut butter
- 1/4 cup icing sugar
- 2 Tbsp soft butter
- tiny pinch of salt if butter is not salted (optional)
- mini foil liners
- tempered chocolate
Directions:
- Combine peanut butter, icing sugar, butter, and salt until smooth.
- Paint inside of liners with tempered chocolate and put in fridge for 10-15 minutes to harden.
- Fill with peanut butter mixture leaving a little space at the top.
- Top with chocolate to seal in the peanut butter and put in fridge for 10-15 minutes to harden.
Chocolate Making Tips
You can find basic instructions for tempering chocolate on Epicurious (or google it if you want more technical details).
I left the recipes as the originals I have, calling for cream and butter. We have very successfully substituted soy milk and a high-quality vegan margarine if dairy is not an option for you.
I got cheap plastic chocolate molds at Bulk Barn here in Canada. You can also find lots of options on Amazon or look for your local chocolate supply store (we found our chocolate boxes at Chocolat Chocolat).
When working with chocolate molds, it's important to make sure the molds are clean, completely dry, and shiny. In between batches we shine them up with a clean cotton ball rather than re-washing each time. Shiny molds will make shinier chocolates and they'll be easier to get out of the molds.
We like to use (new!) artist paintbrushes to "paint" the molds. Just make sure that the paintbrush is also completely dry before dipping it into the chocolate. Any water in the tempered chocolate can ruin it for chocolate making purposes.
Lastly, if you can get your hands on chocolate discs or callets it will save a lot of time chopping chocolate. Just please check the ingredients and make sure that it's good quality chocolate. It's just not worth it to make your own chocolates without using a great chocolate to start with!

1 Réponse

Kelly
These sound fabulous! Thanks for the recipes. We have been making caramel corn clusters (as usual) this year—chocolates would be a great addition.
Laisser un commentaire
Voir l'article entier

Our new Gavotte BFL worsted yarn

Toccata Organic Cotton: Yarn Notes and Pattern Ideas
We're very excited to bring you the first-ever 100% cotton Sweet Paprika yarn!
Like many of you, we really enjoy working with plant fibres as well as wool yarns, especially in the hot summer months. So we spent some time this past winter researching and sampling cotton and hemp yarn bases, and in the end we decided to bring in a small batch of Toccata, a sport-weight organic cotton.

Three books about sheep and fibre
Are you looking to deepen your knowledge of fleeces and fibres? Below, we introduce three books we carry that contain a wealth of information about different fibre-producing animals and sheep breeds, and the best ways to use their fleeces. We hope this selection will support you as you explore different ways to work with a wide array of animal fibres.
Abonnez-vous
Sign up to get the latest on sales, upcoming events, new yarn, patterns and more...
+À propos du Sweet Paprika
Sweet Paprika Designs propose des matériaux de haute qualité pour les tricoteurs et crocheteurs, en mettant l’accent sur des produits locaux et durables. Les copropriétaires (et soeurs) Debbie et Elizabeth créent leurs propres laines teintes à la main, ensemble prêt-à-tricoter et patrons dans leur atelier de teinture à Montréal et organisent des événements de tricot et de teinture dans la communauté.
Elizabeth Sullivan
Auteur